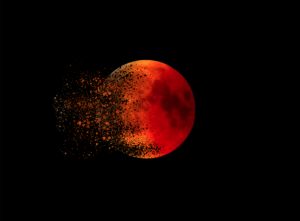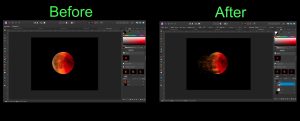
Dispersion Effect
If you’ve ever wondered how you can give your photo a shattering effect, there are a few photo editing steps to follow, which, after some practice, can make the process rather simple and fun.


A few main steps to remember when using Affinity Photo for this effect are:
1) Make a duplicate of your main photo
2) Check the box of only one and use Liquify Persona to modify it
3) Use the mask feature for both the original and the modified version,
except do the inverse mask for the modified version.
4) Pick a paint brush under spray-paints category (spray 5 works well)
5) Alternate between white and black when spraying your original and modified to “erase” the original and add the speckled dots to the modified until you are happy with the results.
If you are using Affinity photo and have been wondering how you can make a shattering effect, or dispersion effect, and would like to see some good tutorials, here are a couple very helpful Youtube videos down below.
