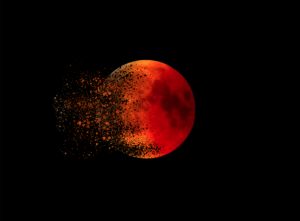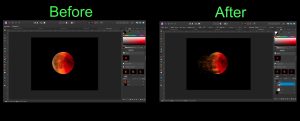
Greetings fellow designers and creators! In this post, I want to touch a little on the subject of using masking. Masking is one of the most beneficial elements in our toolkit, but I’m aware that it can sound complex and laborious to someone new to photo editing software. I know it did to me in the beginning. Nevertheless, let me tell you why it’s so valuable. But don’t be reluctant – it’s not difficult and you’ll eventually get the hang of it. Moreover, you won’t be able to imagine how you ever managed without the advantages of masking once you get used to it.

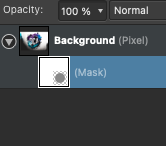
Masking is a powerful tool for photographers and image editors – it allows you to adjust specific parts of the image without affecting any other parts. This means you can make changes to one area without worrying about altering the whole thing. Many photo editing programs offer a “mask” option which allows you to use a brush to select the area you want to adjust. This will generate an invisible barrier, known as a mask, around that specific area so that its adjustments don’t interfere with anything else.
Masking has revolutionized the way we edit photos as it can streamline the process significantly. If you want to make adjustments to different sections of an image, you won’t need to do it all manually. This can save a lot of time and energy! Masking is a great tool to make quick changes that are applicable across all of the masked areas without taking up extra time. It can prove to be a real timesaver!
Applying a mask to an image allows for much greater precision when editing, such as adjusting the brightness of the sky without impacting the other parts of the image. This can be extremely helpful when attempting to make specific changes while preserving the original image’s overall integrity. Masking makes it convenient to edit a specific part of an image, like the sky. The rest of the image remains untouched, which is almost like a magical process!
Masking is a useful tool in photo editing that can significantly improve your post-processing experience. Don’t be afraid to experiment with it and see how it simplifies the workflow. Enjoy masking & seeing the results!


